
Reputation: 2855
ImageButton in Silverlight 3?
For our .NET project this year we have to create a website in Silverlight. Now I have been getting along nicely utilizing the grid, making gridrows and colums, but I have got to the part where I have to create navigation buttons.
So I decided to go for the following look of the buttons:

Now, when I add a button to my project and I give it the background of that image, this happens.
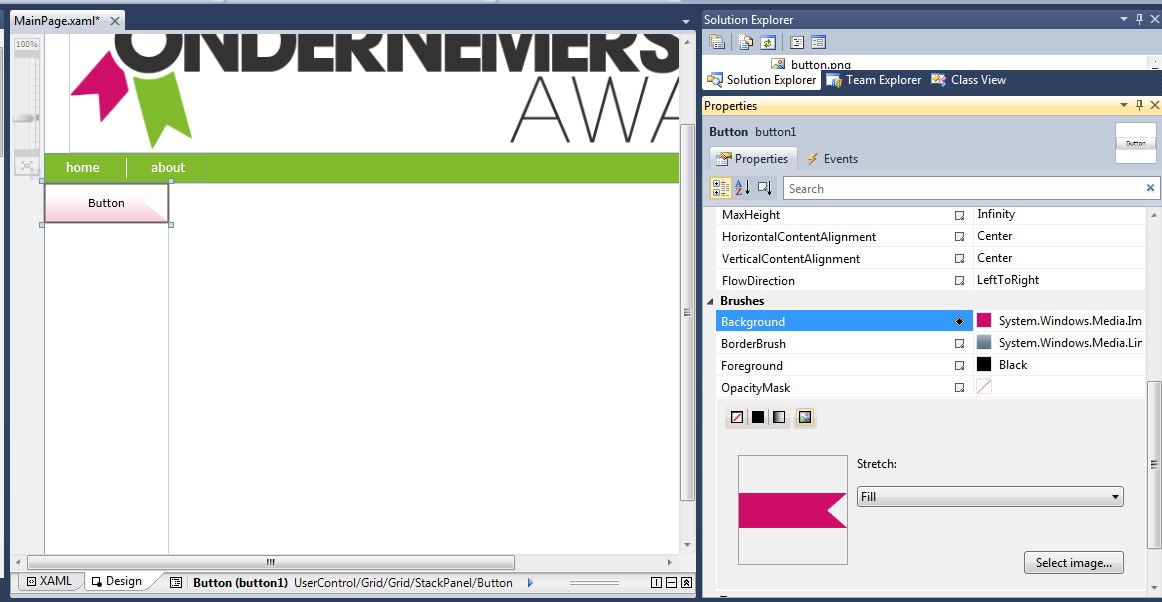
I have looked at other methods to create an image button but those involve putting an image INSIDE the button using a stackpanel. I tried that and it looks really bad.
This is the code the button generated:
<Button Content="Button" Height="40" Name="button1" Width="125">
                    <Button.Background>
                        <ImageBrush ImageSource="/OndernemersAward;component/Images/button.png" Stretch="Fill" />
                    </Button.Background>
                </Button>
I don't know what's going on here and I hope somebody can help me.
Thanks, Thomas
Upvotes: 1
Views: 1324
Answers (2)
Reputation: 2855
I ultimately solved this by using blent. I created an image and there is a control there that can transform the image to a button.
Upvotes: 0

Reputation: 2159
Putting an image inside the button is the best way to go. You can just have an image inside a button, or you could put a StackPanel inside and arrange other content as you see fit. You can also get rid of the border and background brushes on the button so that it is just your image and nothing else. Try this code:
<Button Height="40" Name="button1" Width="125" BorderBrush="{x:Null}" Background="{x:Null}" IsHitTestVisible="False">
  <Image Source = "/OndernemersAward;component/Images/button.png"/>
</Button>
That will make a button that is just your image with no other borders, or colors. You can tweak the other settings as you see fit. Note that in order to use the image as the button, you have to delete the Content tag, since the inside of the <Button> takes the place of it.
Upvotes: 3
Related Questions
- Silverlight ImageButton UserControl
- Image Button In XAML
- how to change image button image when we click on button in silverlight?
- Silverlight or WP7 image button
- ImageButton in WPF
- Silverlight ToggleButton with images
- Using Image Control in Silverlight (4)
- Image button Custom Control, silverlight
- Adding an image to a button in XAML
- Silverlight : Implementing Images